
Key takeaways
- Five specific exercises progressively build the strength, balance, and coordination needed to get off the floor safely after age 65.
- Each movement can be practiced independently with clear rep ranges and variations before attempting the complete floor-to-stand pattern.
- Consistency with just a few minutes of daily practice produces noticeable improvements in comfort, confidence, and mobility.
- Using a nearby sturdy chair or couch for support during training ensures safety while building the strength needed for independent floor transitions.
The ability to rise from the floor cleanly and confidently is one of those physical skills that people notice immediately when they watch an older adult move through their day. Whether you’re picking up a dropped gardening tool, reaching for a toy your grandchild left under the couch, or trying to stretch comfortably on the carpet, getting off the floor after 65 shapes how free you feel in your own home. This single movement combines multiple demands—strength in your legs and hips, mobility across your joints, the coordination to shift your weight smoothly, and enough self-trust to commit to each position along the way.
Why This Progression Works
Rather than practice the full floor-to-stand movement repeatedly and risk feeling overwhelmed or frustrated, the most effective approach breaks the skill into its separate components. Each piece can be trained independently until the full pattern comes together naturally. Your hips need room to shift beneath you. Your legs require the strength to propel you upright. Your arms and core provide stability while you navigate the transition between positions.
Building Strength Without Overwhelm
One of the biggest advantages of training the pieces separately is that progress becomes visible almost immediately. A smoother roll to one side, an easier step forward, or a noticeably stronger push from the floor—these small wins change how you feel about moving your body. When you practice in a structured way, you’re not just getting stronger; you’re also building the confidence that makes the movement feel possible.
Progressive Stages of the Movement
The floor-to-stand sequence naturally unfolds in stages. First, you establish the strength foundation from positions where you have maximum stability. Then you practice the intermediate positions—the moments where balance matters and coordination comes into play. Finally, you string everything together into the complete movement. This progression means each workout builds directly on skills you’ve already grooved into muscle memory.
Establishing Foundation Strength
The first two exercises create the raw strength your body needs to rise from the floor. They’re performed in stable positions where you can focus entirely on muscle activation and control.
Glute Bridge
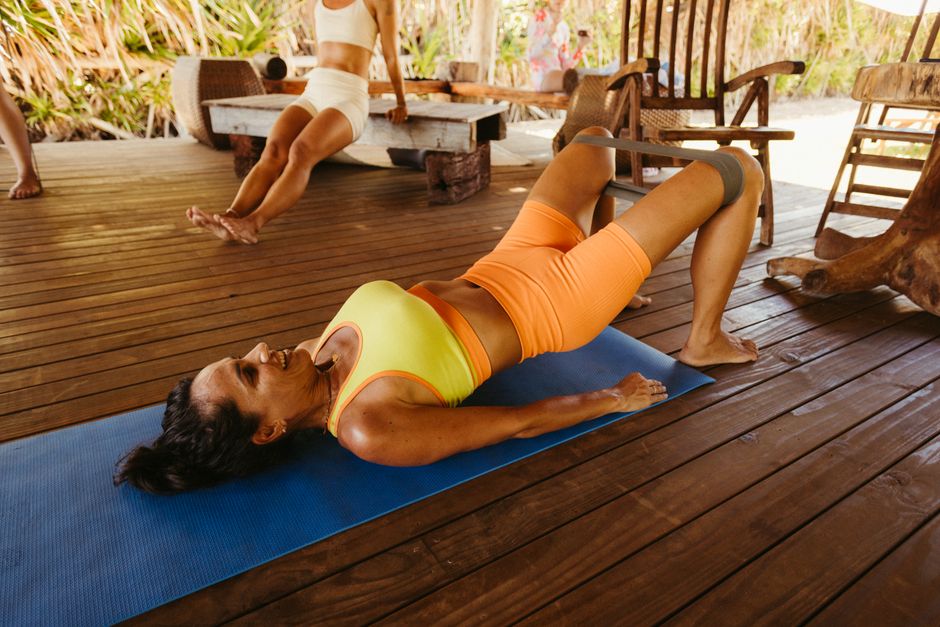
The glute bridge starts from lying on your back with knees bent. The job is simple: press through your heels, lift your hips toward the ceiling, then control the descent back down. This motion directly translates to the hip extension your body needs when you’re pushing away from the floor. The movement also helps when you need to shift your pelvis beneath you or roll to one side during the get-up sequence.
Perform 2 to 3 sets of 10 to 15 repetitions. Variations include holding the top position for time, performing the bridge on a single leg, or marching one foot at a time while holding the bridge. The key form tip: finish each repetition by actively squeezing your glutes—avoid the temptation to arch your lower back instead. The glutes do the work, not your spine.
Quadruped Rock-Back
This exercise begins in a hands-and-knees position, the foundational posture you’ll need when getting up off the floor. From there, you rock your hips back toward your heels, creating a deeper bend in both your hips and knees at whatever pace feels safe. The benefit isn’t just strength; it’s learning how to shift your weight smoothly without feeling locked in place.
Complete 2 to 3 sets of 8 to 12 repetitions. Variations include a smaller range of motion if full range feels uncomfortable, widening your knees for easier access, or elevating your hands on a couch or chair. The form priority is moving through a range that feels smooth on both your knees and hips—never force depth for the sake of range.
Mastering the Transition Movements
Once you have the foundation strength, the next phase teaches your body to handle the intermediate positions where balance and coordination matter. These movements often feel like the point where the full skill either solidifies or falters, which is why dedicated practice pays off.
Half-Kneeling Transition
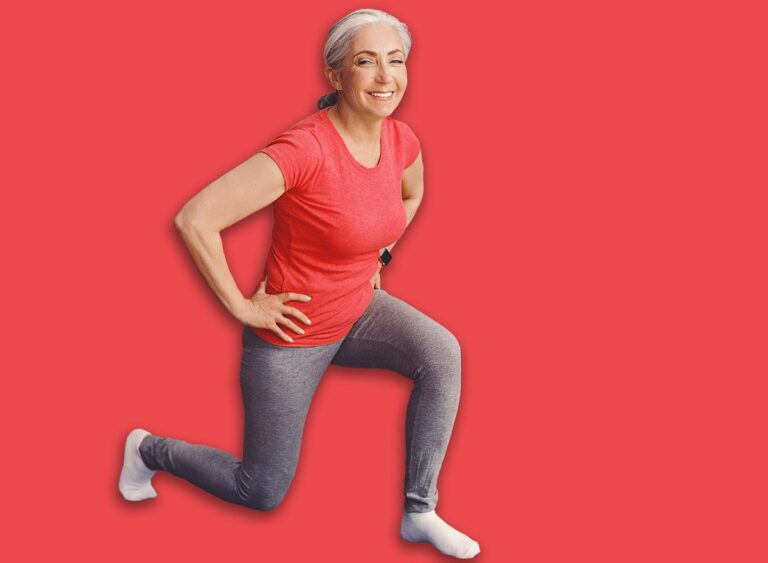
From a tall kneeling position on both knees, you step one foot forward beneath your body. This simple action requires your hips to open up, your trunk to stay upright instead of collapsing forward, and your balance to settle before you commit further. Practicing this transition daily makes the half-kneeling position feel familiar, which removes much of the hesitation from the full movement.
Perform 2 to 3 sets of 5 to 8 repetitions per side. Variations include holding a chair, wall, or couch while you transition, taking a smaller step forward, or simply holding the half-kneeling position without transitioning further. Use nearby support whenever you need it—a sturdy chair, couch, or wall provides the confidence and security that allow you to move deliberately instead of rushing.
Half-Kneeling Rise
This is the movement that trains the actual push that brings you from the floor toward standing. One knee remains down while your front leg drives the work. A chair or couch in front of you provides enough support to keep you calm and controlled throughout the repetition. As you get stronger, you can make the assistance lighter and lighter, letting your leg earn more of the work.
Complete 2 to 3 sets of 4 to 6 repetitions per side. Progressions include varying how much support you use, rising from a taller kneeling position on a cushion, or moving into a split squat pattern. The form essential: let the nearby support help your balance while your front leg does the primary work of driving upward.
The Complete Floor Get-Up
The seated floor get-up is where the training starts to resemble the actual skill you’re building. You learn the sequence of turning your body, placing your hands for stability, bringing one leg underneath you, and using nearby support without rushing through any step. This movement patterns the full transition in a controlled way and makes the floor feel less intimidating.
Practice 2 to 3 repetitions per side, moving deliberately and slowly throughout. Don’t rush from one position to the next. Instead, break the movement into clear steps and pause whenever you need to reset your balance or catch your breath. Variations include performing the movement with hands holding a couch or chair for assistance, practicing only partial get-ups from a seated position, or working on a higher starting point like the edge of a couch. Each variation builds confidence while keeping you in complete control.
Making Daily Practice Sustainable
Getting off the floor becomes dramatically easier when you practice the components before the movement feels urgent. These five exercises build the specific strength and positional awareness that make the full transition smooth and confident. However, the biggest source of progress isn’t any single exercise—it’s consistency over time.
A few minutes of daily practice produces noticeable changes in how your body feels during the movement. Keep a sturdy chair or couch within arm’s reach during every session so that every repetition feels safe and controlled. Begin with whichever pieces feel easiest for your body, then gradually spend more time on the transitions that feel least familiar. The goal isn’t perfection in any single rep; it’s building a movement pattern you can access reliably whenever you need to get down on the floor and back up again.
Frequently Asked Questions
Why is the ability to get off the floor important for adults over 65?
Getting off the floor safely affects everyday activities like gardening, playing with grandchildren, and reaching for dropped objects, and requires a combination of strength, mobility, coordination, and confidence.
How many sets and reps should I perform for each exercise?
The glute bridge uses 2 to 3 sets of 10 to 15 reps, the quadruped rock-back uses 2 to 3 sets of 8 to 12 reps, the half-kneeling transition uses 2 to 3 sets of 5 to 8 reps per side, the half-kneeling rise uses 2 to 3 sets of 4 to 6 reps per side, and the floor get-up uses 2 to 3 slow reps per side.
Do I need special equipment to practice these exercises?
No special equipment is needed; however, keeping a sturdy chair or couch nearby during practice is recommended for safety and support while you build strength and confidence.
